
Onboarding Client Sites Without the Overhead: Provisioning via API

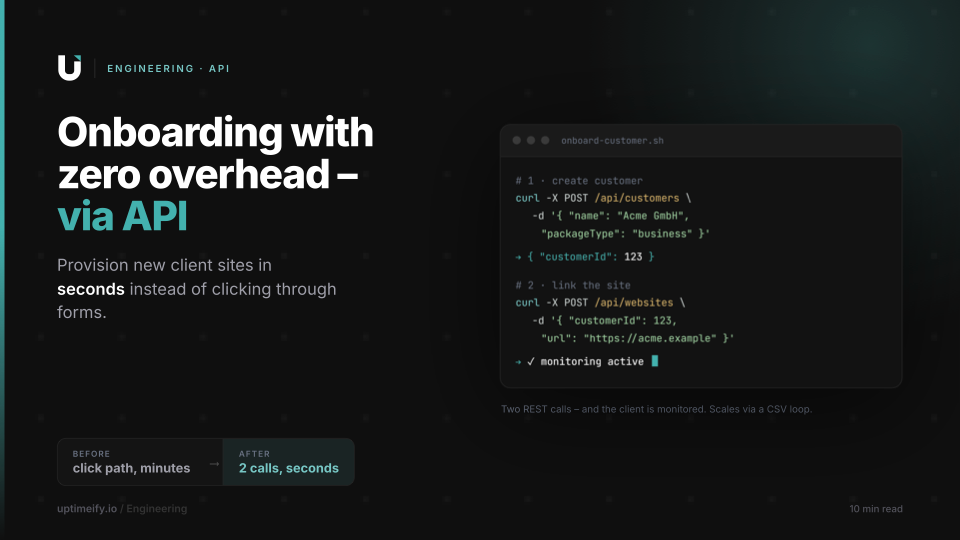
Every agency knows the moment: a new client signs, and before any monitoring runs, you click through forms — create the client, assign a package, add the site, configure monitors, fill in internal notes. For one client it's tedious. For twenty it's half a workday. Provisioning via API turns that click path into a script that runs in seconds — new client sites get set up in minutes instead of by hand. This article walks through the exact sequence, the role of custom fields, and how to automate an entire onboarding.
The problem: manual onboarding doesn't scale
Setting up one client by hand is harmless in isolation — a few forms, a few minutes. The problem is repetition. Every step is error-prone (a forgotten field, a wrong URL, a missed monitor), every step is unproductive time, and the total grows linearly with your client count. At exactly the moment your agency grows, onboarding becomes the bottleneck.
Then there's inconsistency. Set things up by hand and you do it slightly differently every time — sometimes the reference number is filled in, sometimes not; sometimes the monitor is "DNS Acme," sometimes "acme dns check." Those little messes come back to bite you later, in reports, filters, and handovers. Automation solves both problems at once: it costs next to no time per client, and it creates every client from the exact same blueprint.
The basics: a bearer token and one REST call
Before the actual sequence, the foundation. The Uptimeify API is a classic REST interface: you send JSON to an endpoint, you get JSON back. Authentication runs through a bearer token you generate in the dashboard under Settings → API. Every token starts with wsm_ — miss that prefix and the API replies with 401 Unauthorized.
In its simplest form, a call looks like this:
BASE_URL="https://uptimeify.io"
TOKEN="wsm_<your-api-token>"

curl -H "Authorization: Bearer $TOKEN" "$BASE_URL/api/customers"
That's all the groundwork you need to start. If you've ever written a shell script, you've got everything to automate onboarding — no SDK, no framework, no build pipeline. One detail is worth knowing upfront: tokens can be issued organization-wide or client-scoped. For provisioning scripts that need to create any client, use an organization-wide token; for an integration meant to touch only a single client, use a client-scoped one. Anything outside the scope is rejected with 403 Forbidden.
The provisioning sequence in two calls
The heart of onboarding is two calls. The first creates the client, the second creates the first site — and links them through the returned ID.
Step 1 — Create the client. A POST to /api/customers creates the client. The package and any custom fields ride along in the same request:
curl -X POST "$BASE_URL/api/customers" \
  -H "Authorization: Bearer $TOKEN" \
  -H "Content-Type: application/json" \
  -d '{
    "name": "Acme Ltd",
    "email": "ops@acme.example",
    "packageType": "business",
    "customFields": {
      "internalReference": "KD-999",
      "region": "EU"
    }
  }'
The response returns the new client ID — both as an internal id and as a publicId (UUID). That ID is the thread everything else hangs from.
Step 2 — Attach the first site. Using the customerId from step 1, a POST to /api/websites creates the first site to monitor:
curl -X POST "$BASE_URL/api/websites" \
  -H "Authorization: Bearer $TOKEN" \
  -H "Content-Type: application/json" \
  -d '{
    "customerId": 123,
    "name": "Acme Marketing Site",
    "url": "https://acme.example"
  }'
Important: the url must include the protocol (https://…). From that moment the site is monitored from multiple EU locations — every outage confirmed before an alert fires. Two calls, and the client is in monitoring. What was a multi-minute click path in the interface is now a script fragment that runs in under a second.
Adding more monitors: DNS, ping, SSL & co.
Plain uptime monitoring of the website is often just the start. For a complete monitoring baseline, you attach further monitors with the same customerId — each type has its own endpoint. A DNS monitor, for instance:
curl -X POST "$BASE_URL/api/dns-monitors" \
  -H "Authorization: Bearer $TOKEN" \
  -H "Content-Type: application/json" \
  -d '{
    "customerId": 123,
    "name": "DNS: acme.example",
    "hostname": "acme.example",
    "dnsConfig": {
      "rrtypes": ["A"],
      "matchMode": "exact",
      "expectedValues": { "A": ["93.184.216.34"] }
    }
  }'
ICMP (ping), SMTP, SSH, FTP and IMAP/POP follow the same pattern — each with customerId, name, and its type-specific fields. That turns the provisioning sequence into a template: a script that creates a defined baseline set of monitors per client, identical every time. One tip from practice: use consistent name prefixes (DNS:, Ping:, SMTP:) so reports and filters land cleanly later.
Custom fields: your internal structure from second one
The difference between "created somehow" and "filed cleanly into the system" is custom fields. They attach your own metadata to a client or a site — the internal reference number, the team in charge, the environment (production, staging), the region. They come in three flavors: a free text field, a select field, and a multi-select field.
You define the field definitions once via /api/custom-fields:
curl -X POST "$BASE_URL/api/custom-fields" \
  -H "Authorization: Bearer $TOKEN" \
  -H "Content-Type: application/json" \
  -d '{
    "organizationId": 1,
    "name": "Environment",
    "fieldType": "select",
    "options": ["production", "staging", "development"],
    "isRequired": true
  }'
After that you fill them — as seen above — directly in the customFields object when creating the client. The effect: every client provisioned by script is fully tagged from the first second. No "I'll fill that in later" sticky notes, no half-maintained records. Here, automation enforces the tidiness that manual setup constantly undermines.
From one-off to bulk onboarding
The API's full leverage only shows up at volume. Once the provisioning sequence exists as a script, the jump from one client to a hundred is just a loop. You keep your clients in a list — say a CSV of name, email, and URL — and call the same sequence per row:
while IFS=, read -r name email url; do
  # 1) create client, read customerId from the response
  # 2) attach site with that customerId
  # 3) add baseline monitors
done < clients.csv
Because the API allows up to 600 requests per minute, even larger migrations run in a single pass. This is where automation pays off most visibly: an existing client base that used to sit outside monitoring moves in all at once — without anyone filling in the same forms a hundred times. A project you'd otherwise put off for weeks becomes a script run of a few minutes.
The real payoff: onboarding as a solved problem
At its core, provisioning via API isn't a technical flourish — it's the decision to solve a recurring problem exactly once. You write the sequence a single time — client, site, monitors, custom fields — and after that every further onboarding is just a call to that finished routine. The effort per new client drops from minutes to near zero, and the "human clicks a form" error source disappears entirely.
For your agency's technical track, that means two things. First, onboarding goes from bottleneck to non-issue — it no longer scales with your client count. Second, every client is created consistently, tagged cleanly, and fully monitored from the first moment. That's the invisible foundation that reliable reports, handovers, and automations can finally build on.
The click path was never the work your client pays you for. The API takes it off your hands — and gives you back the time for what does matter.
Frequently asked questions
How do I provision a new client via API?
In two calls. First, POST /api/customers creates the client — including the package and any custom fields in the same request. The response returns a customerId, which you pass to POST /api/websites in the second call to attach the first client site with monitoring. Additional monitors (DNS, ping, SSL, SMTP) hang off their own endpoints as needed. A multi-minute click path becomes a script that runs in seconds.
Do I need developer skills to automate onboarding?
The command line is enough to get started. The API is a classic REST interface with JSON — each call is a single cURL command with a bearer token in the header. If you've ever written a shell script, you can automate onboarding. For larger automations (a form triggers provisioning, Zapier/Make, a custom tool) a developer helps, but the core mechanics are deliberately simple.
What are custom fields for in API provisioning?
Custom fields attach your own metadata to a client or a site — internal reference number, the team in charge, environment (production/staging), or region. They come as text, select, and multi-select fields. During provisioning you fill them in the same API call, so every newly created client is filed cleanly into your internal structures from the first second — no manual cleanup afterward.
How do I secure API access per client?
Through the API token's scope. Tokens always start with wsm_ and can be issued either organization-wide (access to all clients) or scoped to a single client. A client-scoped token can only read and change resources for that one client — anything beyond that is rejected with 403 Forbidden. For external integrations and agency workflows, client-scoped tokens are the recommended choice.
Can I create multiple client sites at once?
Yes — that's the real payoff of the API. You iterate over a list (say, a CSV of client names and URLs) and call the provisioning sequence per row. Because the API allows up to 600 requests per minute, even larger migrations run in a single pass. That's how you bring an entire client base into monitoring without setting up each site by hand in the interface.

Co-Founder of Uptimeify, responsible for all of marketing. He bridges technical development and marketing strategy — from Java, PHP and Shopware plugins to steering digital growth strategies. A certified UX Manager (IHK) and digital-marketing advisor to three non-profit organizations.
More from the blog
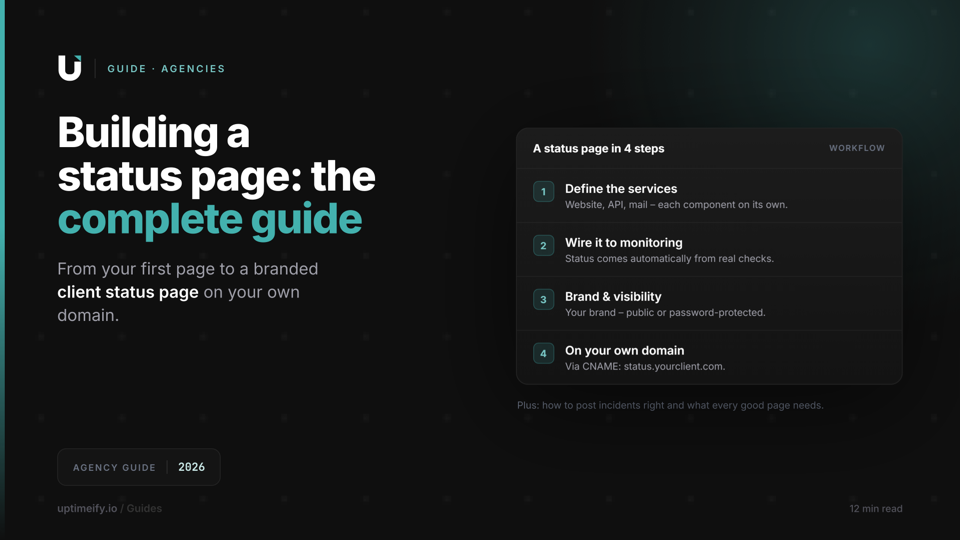
How to Create a Status Page: The Complete Guide for Agencies (2026)
From your first status page to a branded client status page: what to communicate, how to post incidents, and how to run a status page on your own domain.
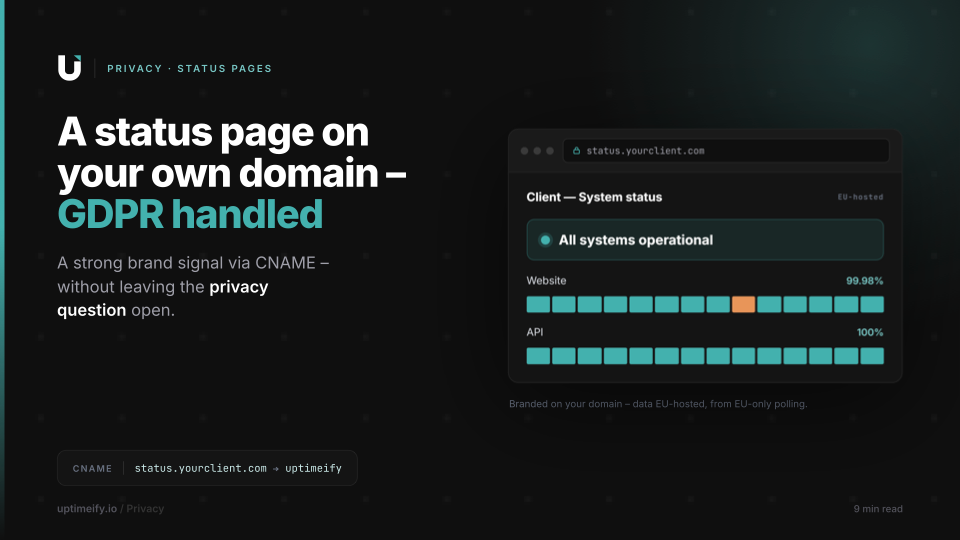
Status Pages on Your Own Domain & GDPR: What Agencies Should Know
How to run a status page on your own domain via CNAME, where the data sits, and what to communicate cleanly under GDPR — the factual guide for agencies.
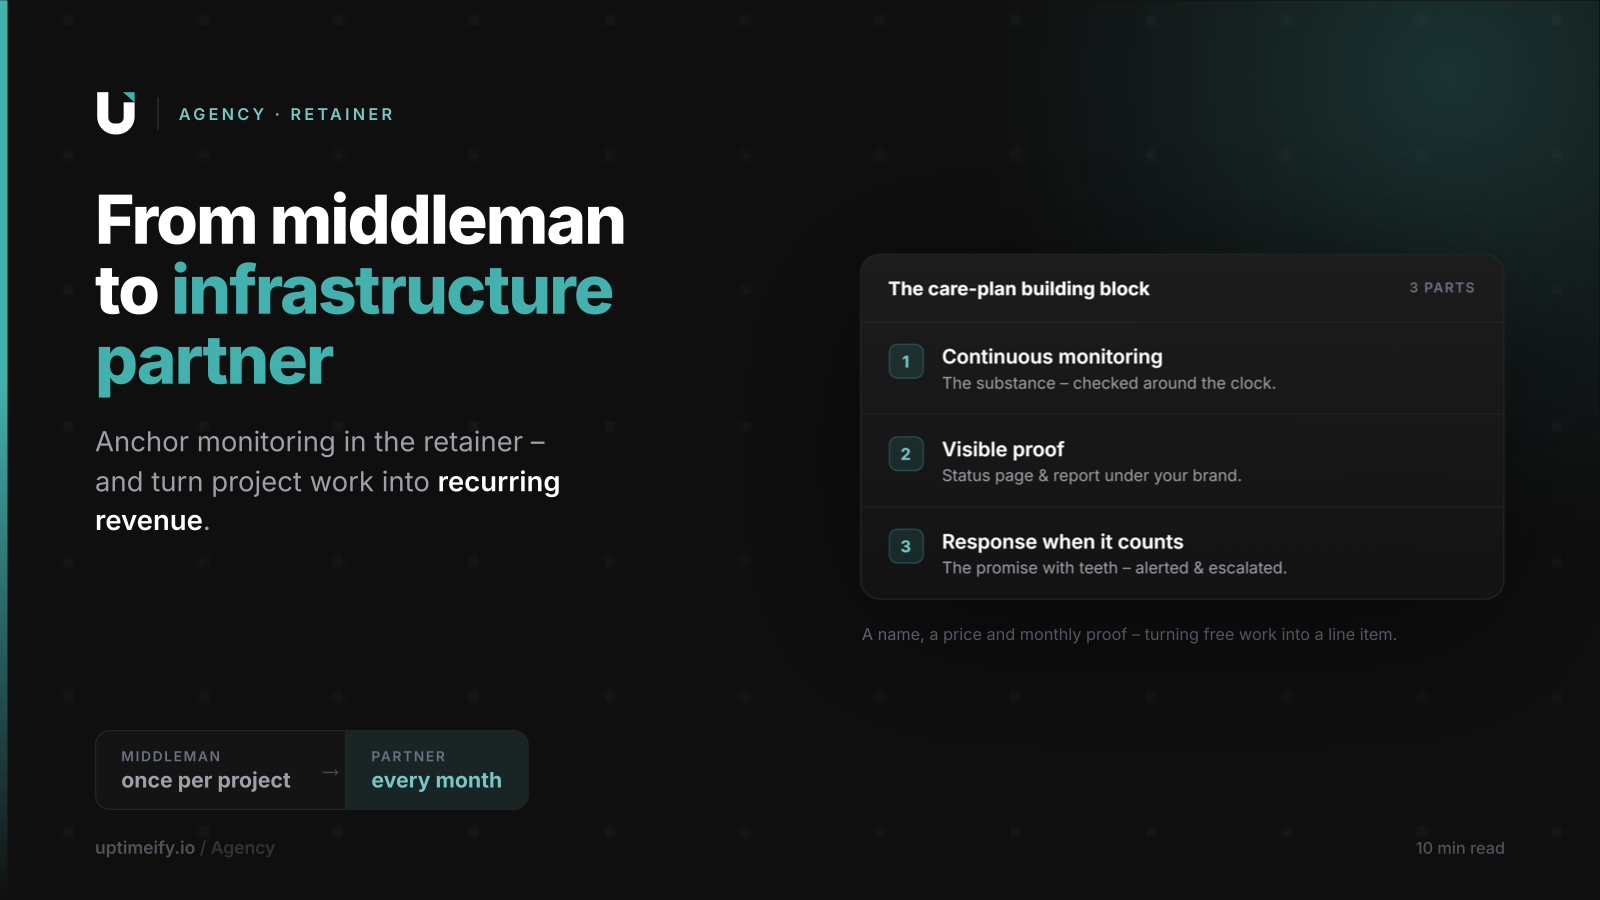
From Middleman to Infrastructure Partner: Anchoring Monitoring in Your Retainer
How agencies anchor monitoring as a fixed retainer building block — with pricing logic, plan components, and a script for the client conversation.